
Note:
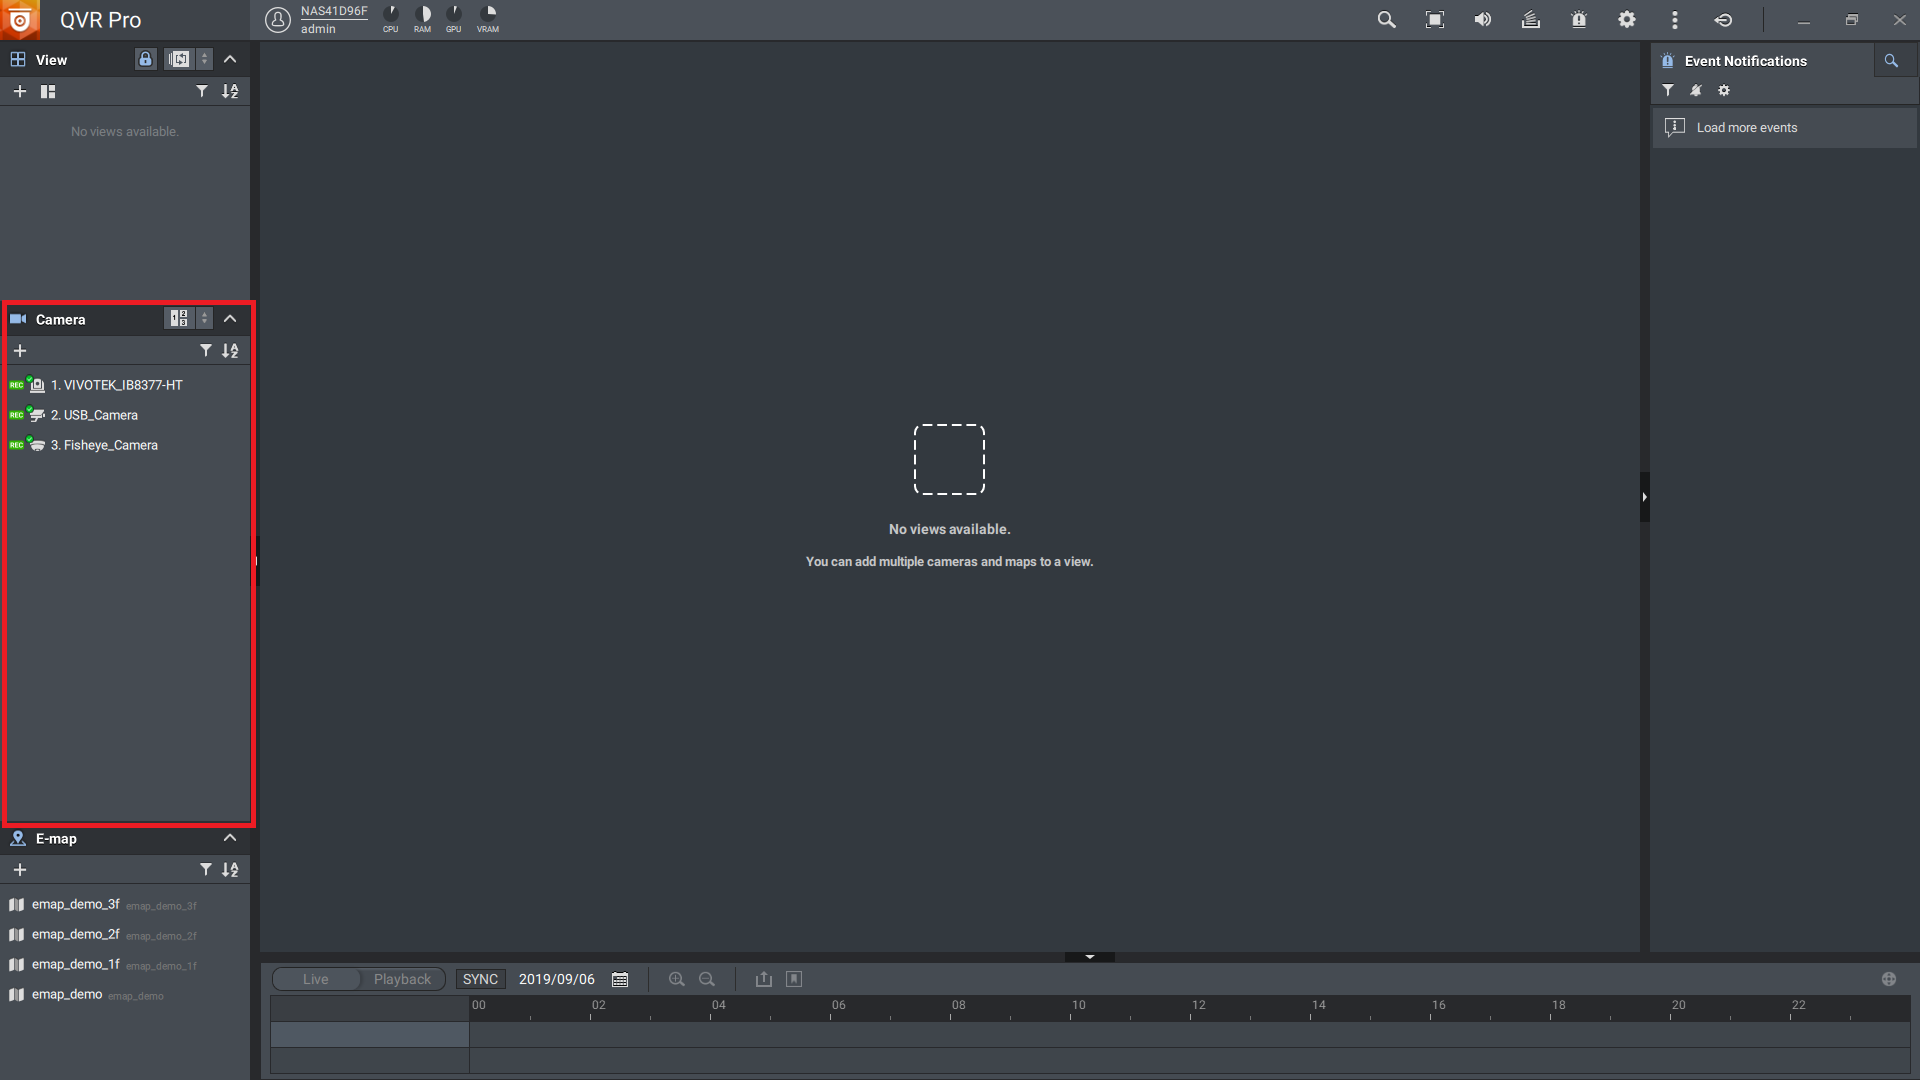
Ensure that the camera is online by looking for the  icon. If the camera is offline, go back to QVR Pro and check the camera settings.
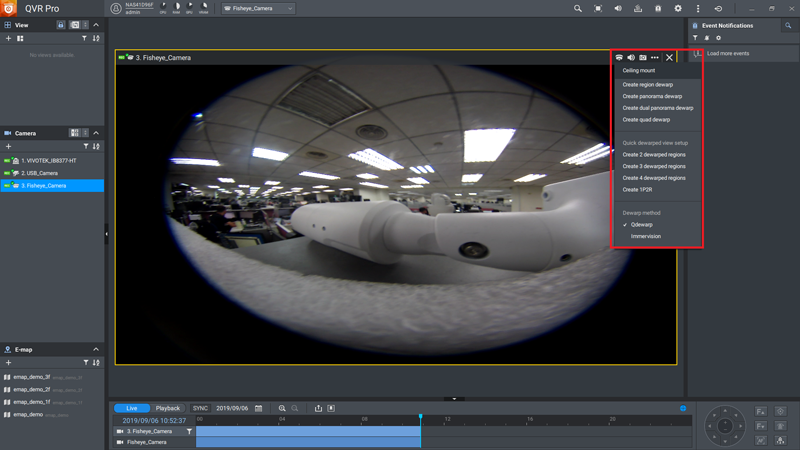
c. Perform one of the following tasks.
Click inside the video frame to select a fisheye camera.
Position the mouse pointer over the camera until the task bar appears.
d. Click  .
.
e. Perform one of the following tasks.
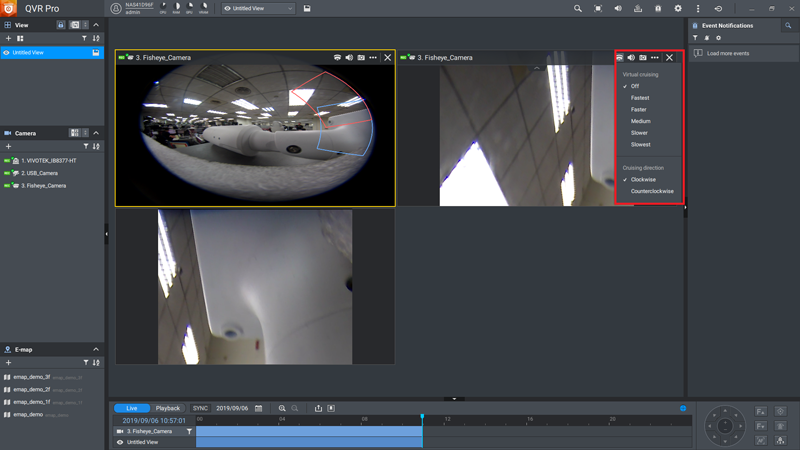
Tip:
You can click in the new camera cell to select a cruising speed. The dewarping sector moves at the specified speed.
| Task | Steps |
| Regional dewarping |
A new camera cell appears and displays the dewarped image. Tip: You can click |
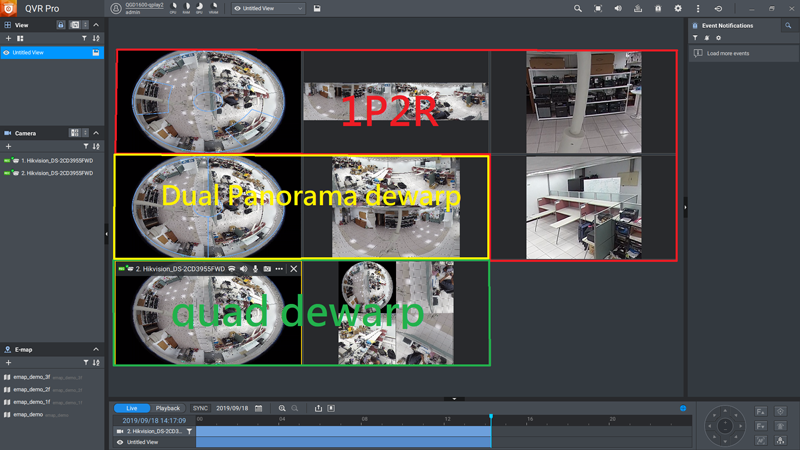
| Panoramic dewarping | Select one of the following options.
A new camera cell appears and displays the dewarped image. |
| Quad dewarping |
A new camera cell appears and displays the dewarped image. Tip:
|
| Dewarping templates | Select one of the following templates to quickly create a dewarped view.
New camera cells appear and display the dewarped images. |
f. Click  beside the view name.
QVR Pro Client saves all the changes.
a. On a dewarped view, click
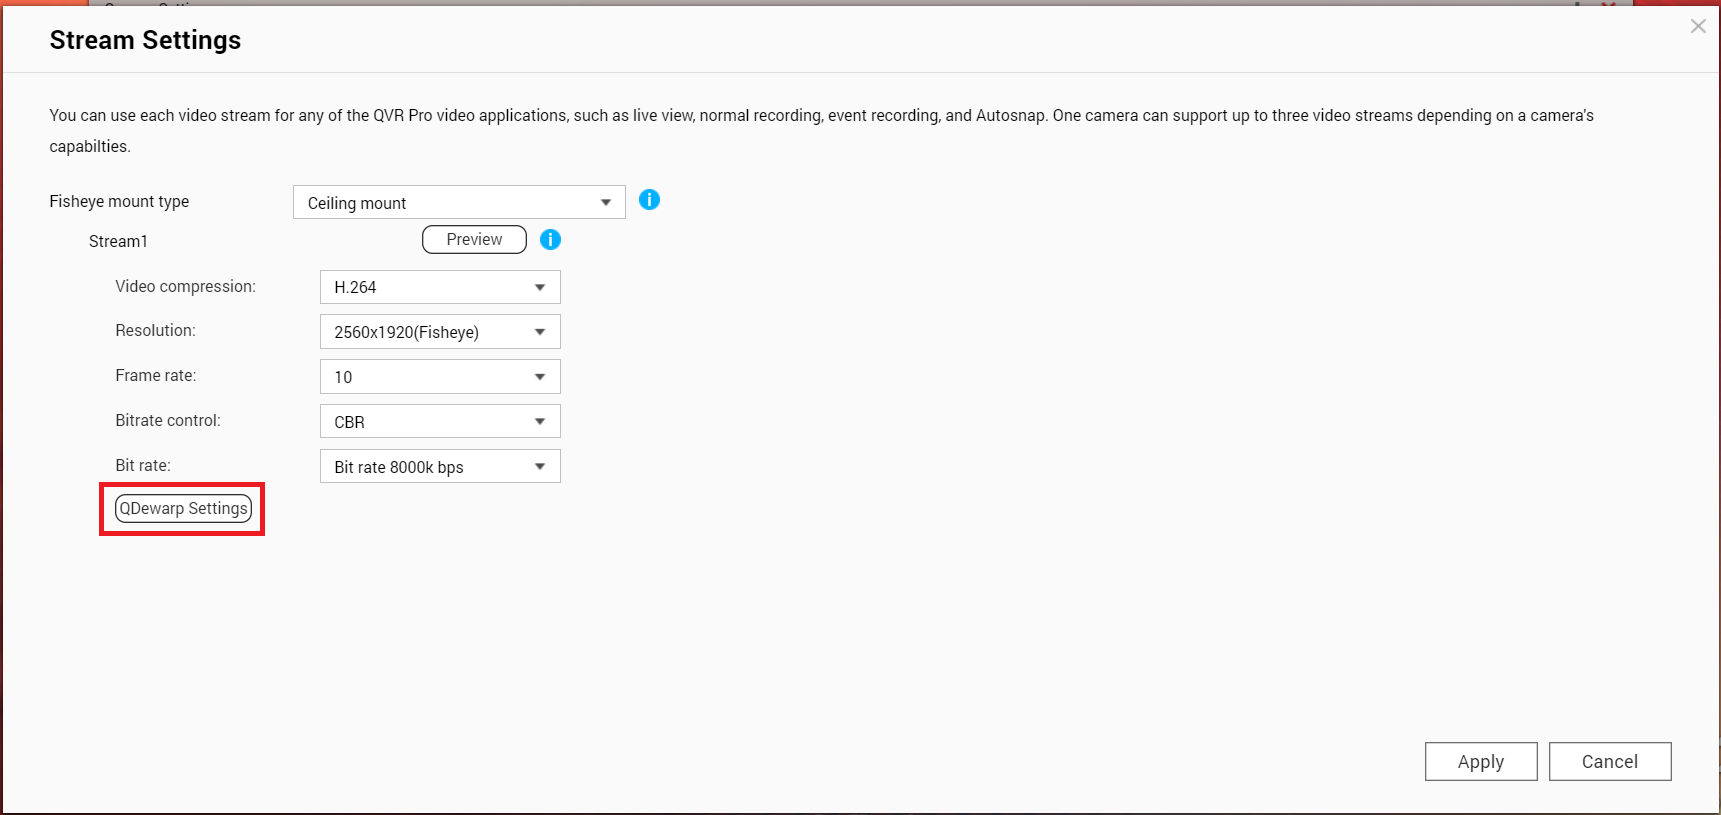
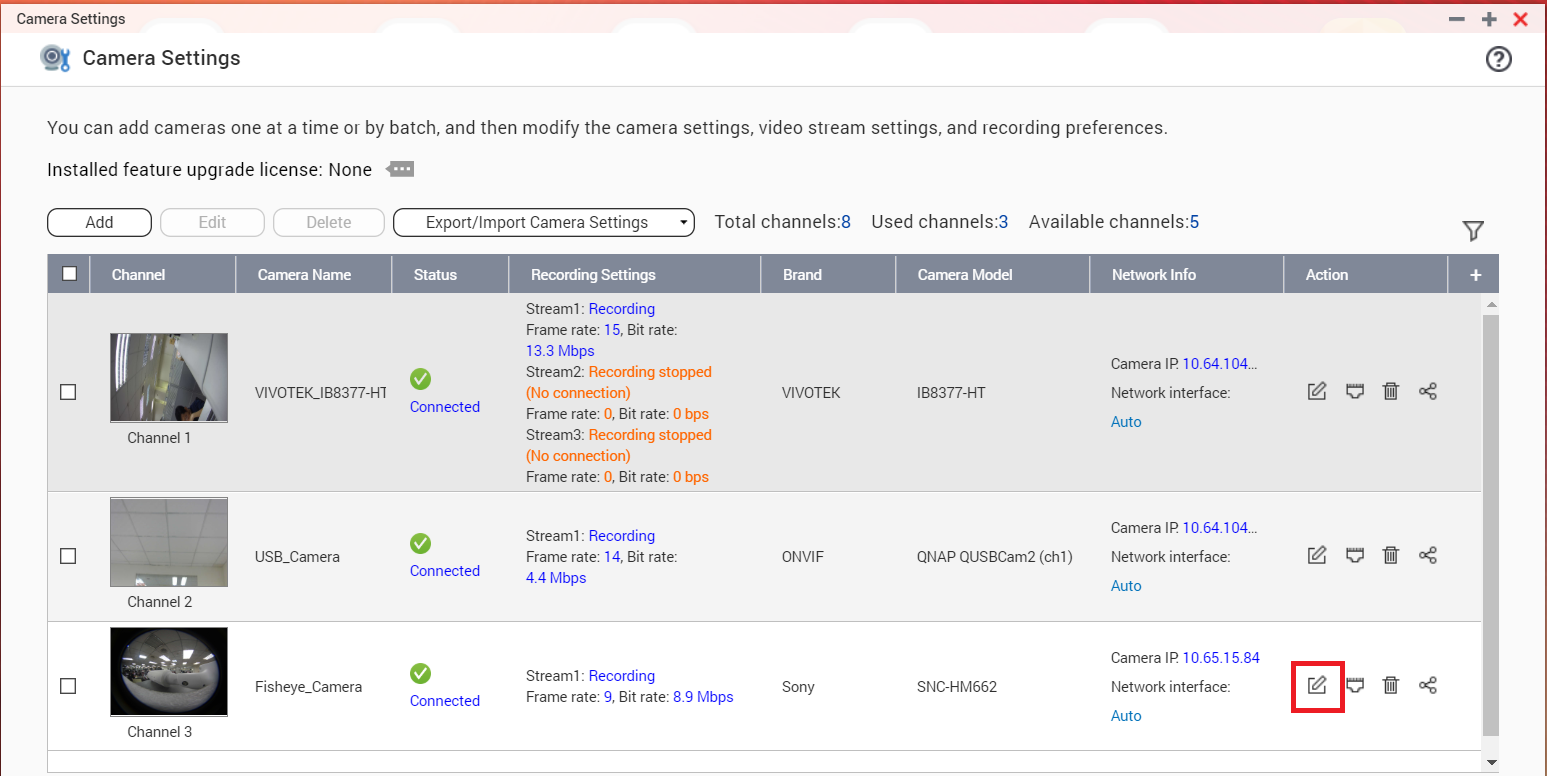
a. Go back to QVR Pro and open Camera Settings.
b. Locate the fisheye camera and then click .
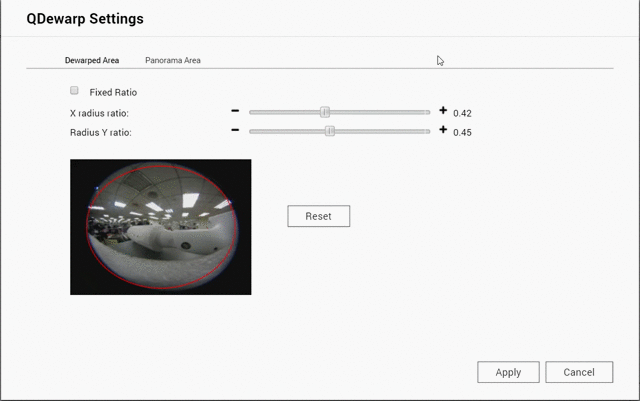
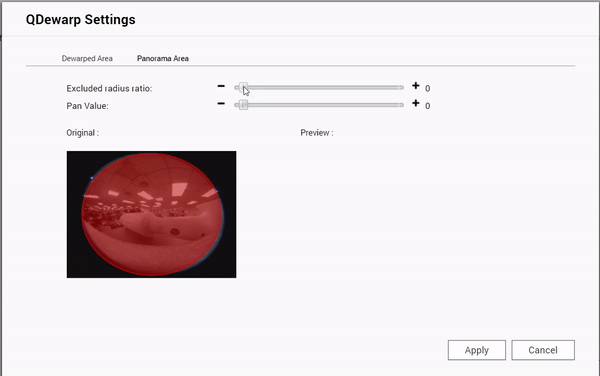
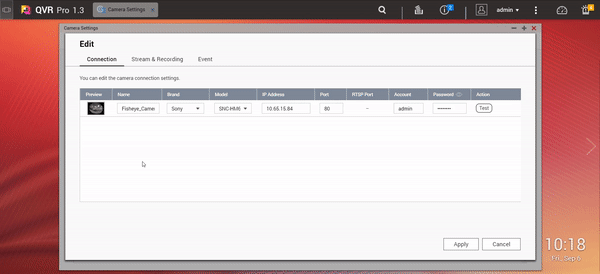
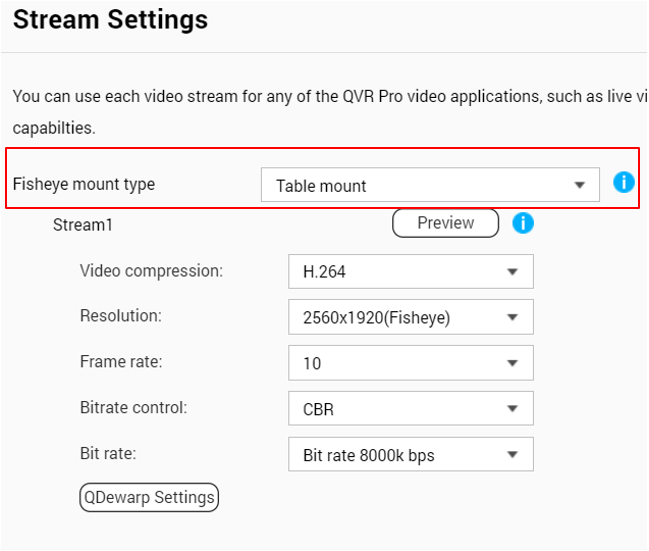
c. Go to Stream & Recording > Stream Settings > Qdewarp Settings.