This tutorial explains how to use Container Station with Apache MXNet.
Important:
You must first install a graphics card on the NAS and assign it to Container Station before installing MXNet.
1. Log in to QTS.
2. Open App Center.
3. Search for Container Station.
4. Click Install.
App Center installs Container Station.
Apache MXNet (incubating) is an open source deep learning framework. It is designed to provide flexible research prototyping and production. It offers efficiency, portability, and scalability, and allows you to combine symbolic and imperative programming. At its core, MXNet contains a dynamic dependency scheduler that automatically parallelizes both symbolic and imperative operations on the fly. A graph optimization layer on top of that makes symbolic execution fast and memory efficient.
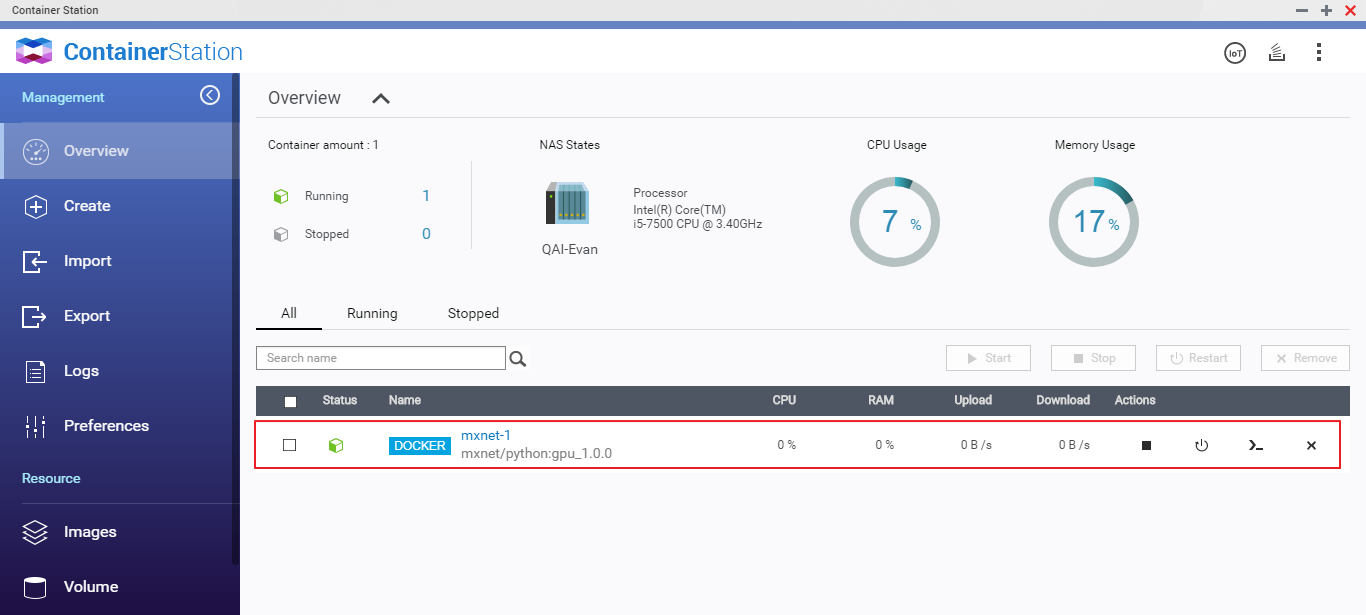
You can use the Container Station web or command-line interface to create this framework.
1. Open Container Station.
2. Click Create.
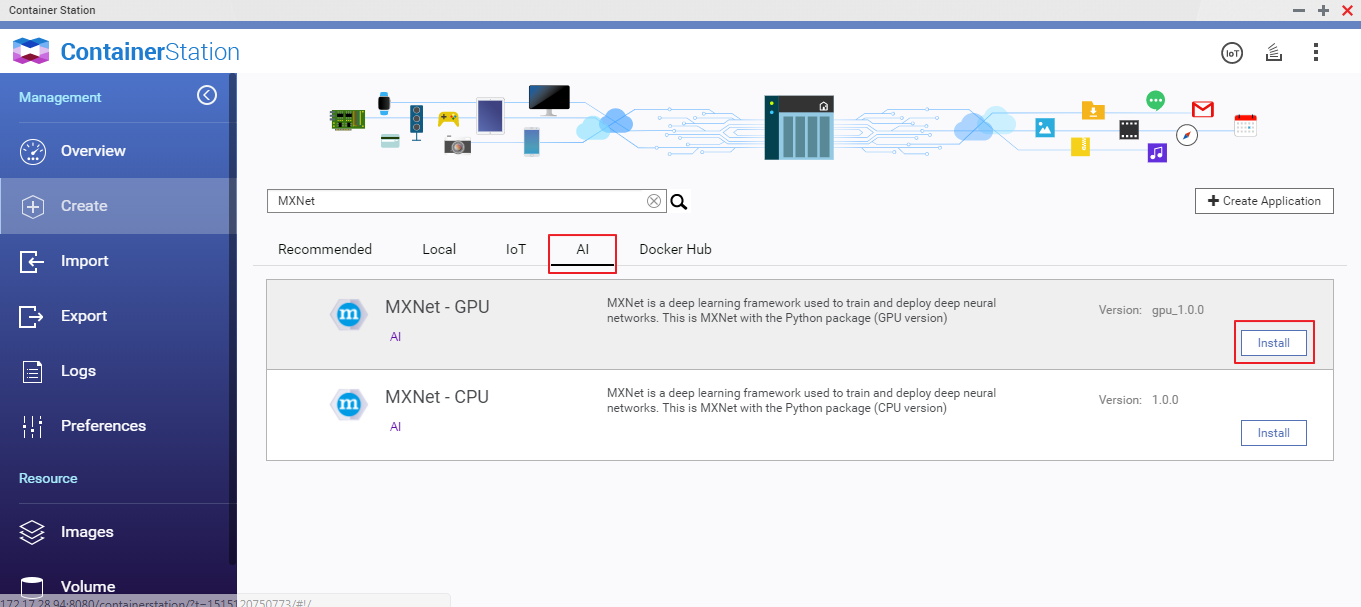
3. In the Search box, type MXNet.
Container Station displays the search results.
4. Locate MXNet – GPU on the list and then click Install.
The Create Container window opens.
5. Specify the container name.
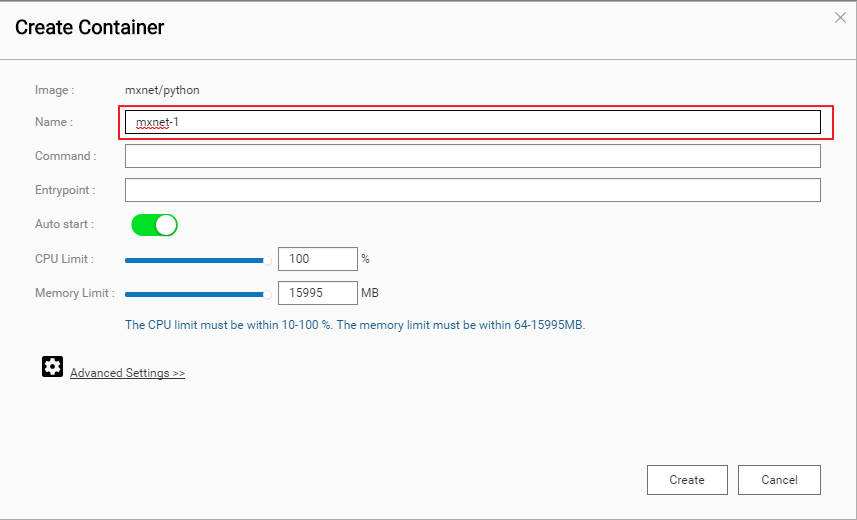
Note:
The name must start with a letter or number and can only contain the following characters:
Letters: Upper case (A to Z) and lower case (a to z)
Numbers: 0 to 9
Special characters: hyphen (-), underscore (_), or period (.)
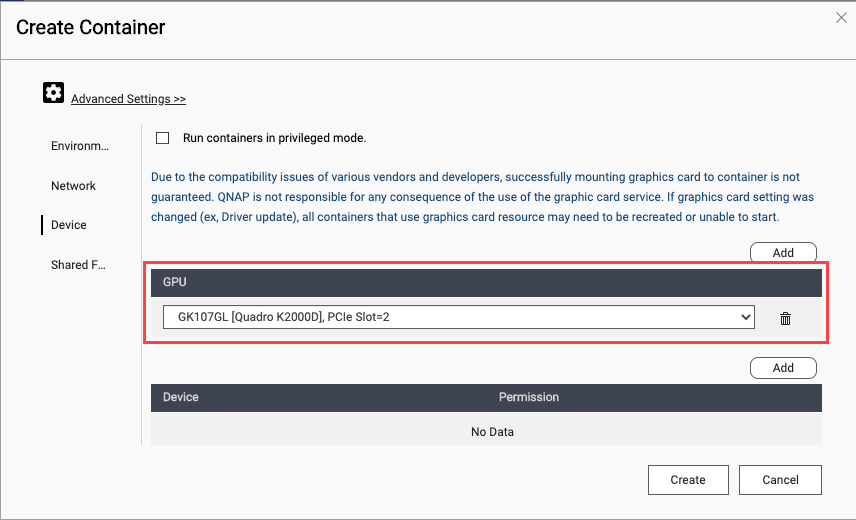
6. Go to Advanced Settings > Device.
7. Enable Use GPU resource to run container.
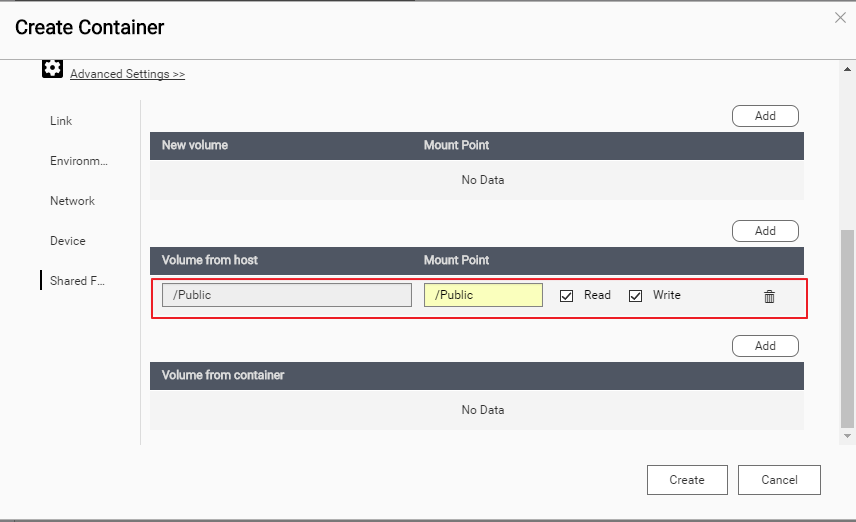
8. Optional: Go to Shared Folders and then mount a NAS folder.
9. Click Create.
Container Station creates the container.
MXNet is licensed under an Apache License-2.0 license.